

A big share of MOT fails come down to things a driver could have spotted themselves in the time it takes to make a cup of tea. You don’t need to be mechanically minded to catch a blown bulb, a low tyre, or a windscreen chip, and doing so before you book saves you the cost and hassle of a failed test entirely. This is a practical walkthrough of exactly what to check, in an order that makes sense to actually do it in.
None of this replaces a proper inspection on a ramp, since some of the most serious fail points, like suspension wear and structural corrosion, genuinely need trained eyes and the car raised off the ground. But a DIY check the week before your test catches a surprising amount, and it costs nothing but a few minutes.
Start with the lights
Lighting faults are the single biggest cause of MOT failure in the UK, and they’re also the easiest thing on this entire list to check yourself. With the engine running, walk around the car and turn on each light in turn: sidelights, headlights on dip and main beam, front and rear indicators, hazard lights, brake lights, reversing lights, fog lights, and the number plate light. It helps to have someone else operate the switches from inside while you look from outside, or park facing a wall or garage door so you can see the reflection of each light as it comes on.
Check for cracked lenses too, not just blown bulbs. A lens that’s cracked or heavily fogged with condensation can change the colour or spread of light enough to cause a fail, even with a working bulb behind it.
Check tyre tread and condition
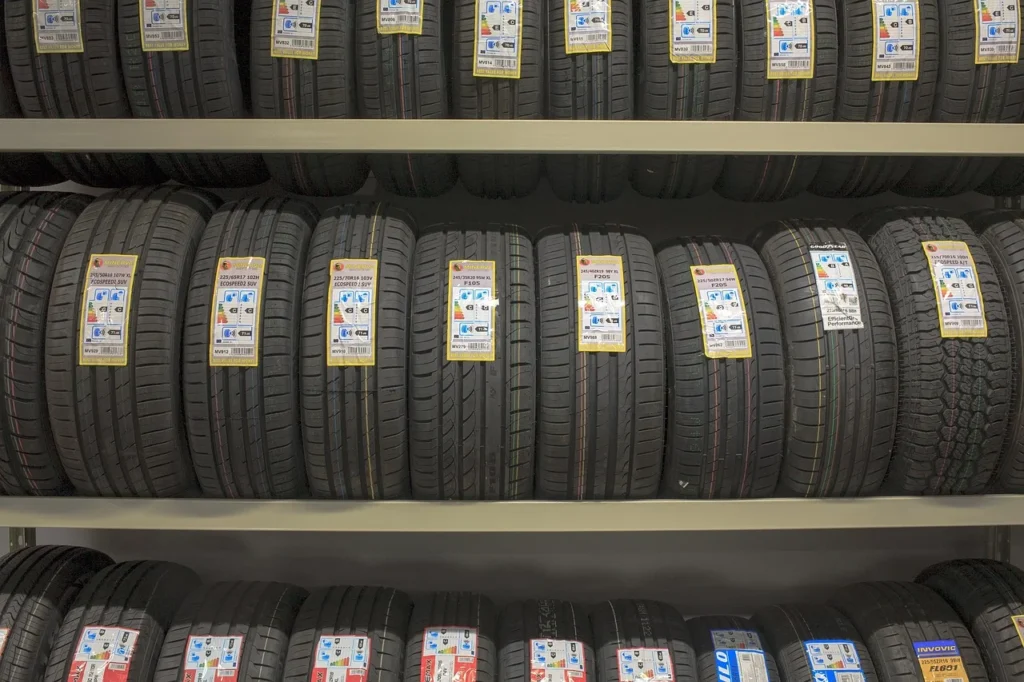
The legal minimum tread depth is 1.6mm across the central three-quarters of the tyre, all the way round. A 20p coin is the standard trick: insert it into the tread grooves at a few different points around each tyre, not just one spot, since wear isn’t always even. If the outer band of the coin is visible, the tread is likely too low and worth getting properly measured.
While you’re down there, run a hand around each tyre feeling for cuts, bulges or anything that looks like it’s been damaged by a kerb or pothole. Check tyre pressures too, since underinflated tyres wear unevenly and can develop the kind of edge wear that tips a borderline tyre over the legal limit sooner than expected.
Look underneath for fluid leaks
This one takes thirty seconds and catches a genuinely common fail point. Park the car somewhere you’ll notice a mark on the ground, leave it overnight, and check underneath in the morning for any patches of oil or coolant. A torch helps if the light is poor. If you spot anything, it’s worth getting it looked at properly, since a slow leak found early is usually a simple, cheap fix, while the same leak left for months can lead to low fluid levels and much more expensive damage.
Check the windscreen and wipers
Run your eye over the entire windscreen looking for chips and cracks, paying particular attention to the area swept by the driver’s side wiper, since anything over 10mm there is an automatic fail regardless of how minor it looks. Top up the screen wash reservoir, and run the wipers with the washers on to check they clear the glass cleanly without smearing, juddering or leaving a dry patch. Torn or perished wiper blades are cheap to replace and easy to spot just by running a finger along the rubber edge.
Test the horn and check seatbelts
Give the horn a quick press to confirm it works. Pull each seatbelt out sharply to check it locks properly, which is what a tester will do to simulate an emergency stop, and look for any obvious fraying or damage along the webbing, particularly on belts that get less use in the back seats.
A quick reference checklist
Running through these in order takes most people under twenty minutes:
- Every external light working, including indicators, fog lights and the number plate light
- Tyre tread depth checked at multiple points with a coin, on all four wheels
- No visible oil or coolant patches underneath the car
- Windscreen free of chips over 10mm in the driver’s wiper sweep area
- Screen wash topped up and wipers clearing the glass cleanly
- Horn working and seatbelts locking properly when pulled sharply
What DIY checks can’t catch
Suspension wear, brake imbalance, corrosion in structural areas, and emissions issues all need equipment or a trained eye to assess properly. A suspension bush can be worn enough to fail an MOT while the car still drives perfectly normally, and there’s no way to spot that from a walkaround at ground level. This is exactly the gap a proper pre-MOT check fills, going through the same categories a DVSA tester will look at but with the car raised on a ramp and enough time to actually inspect rather than glance.
SSK Mechanics runs pre-MOT checks across Bradford and West Yorkshire that combine everything covered here with the parts of the car you simply can’t assess from the driveway. Booking one a week or two before your actual test gives you time to sort anything found, rather than facing a fail certificate and a scramble to get it fixed before your car becomes illegal to drive.
Seasonal checks worth adding
Certain items are worth extra attention depending on the time of year. Going into winter, check the battery terminals for corrosion and make sure the antifreeze concentration is strong enough for the coldest nights, since a struggling battery or a coolant mix that’s too weak can both catch owners out in cold snaps, and a battery on its way out is far more likely to fail during winter starts than at any other time. Coming into spring, after a winter of grit and salt on the roads, it’s worth having a closer look underneath the car for early signs of corrosion, particularly around the sills, wheel arches and exhaust, since salt accelerates rust considerably faster than dry summer roads do.
Bradford and the wider West Yorkshire area sees its fair share of both extremes, from icy hill starts in winter to hot, dry spells that can dry out rubber seals and hoses in summer. Adjusting what you pay closest attention to depending on the season, rather than running through exactly the same checklist every single time, catches problems that are genuinely more likely at that point in the year.
Common mistakes people make when checking their own car
The most common mistake is checking lights and tyres from the driver’s seat rather than actually getting out and walking around the car. A dashboard warning light staying off doesn’t mean every bulb works, since most cars don’t monitor every single external light individually. Another common mistake is checking tread depth at just one point on a tyre, when wear is very often uneven, particularly on the inner or outer edge if the wheel alignment is slightly off. Checking in poor light or in the rain also makes it easy to miss a windscreen chip or a hairline crack that would be obvious in good daylight, so picking a dry, well-lit moment for the check genuinely makes a difference to how much you actually spot.
A final common mistake is doing the check the night before the test, which leaves no time to act on anything found. Doing it a week or two ahead of time turns a potential fail into a simple fix you can plan and budget for, rather than a stressful scramble on the morning of the appointment.
Weighing up the cost of catching things early
Almost everything on this checklist costs little to nothing to fix if caught early. A bulb is a few pounds. A bottle of screen wash is a couple of pounds. A pair of wiper blades rarely costs more than the price of a takeaway coffee for two. Compare that to the cost of a failed test, which typically means paying for the original test, paying again for the retest, and often losing a day arranging to get the car back to the centre a second time, on top of whatever the actual repair costs. The maths consistently favours spending twenty minutes checking your own car over risking a fail you could have prevented.
Doing this regularly, not just before an MOT
These checks are worth doing more than once a year. A blown bulb or a low tyre can happen at any point, and catching it during a routine glance rather than only in the days before an MOT means you’re driving a safer, more legal car all year round, not just on test day. Building a rough version of this walkaround into a monthly habit, even a shortened two-minute version, catches problems while they’re still small and cheap to fix.
You can find the DVSA’s own full breakdown of everything an MOT tester checks on gov.uk’s guide to MOT checks, which is worth a read if you want to understand exactly what each item on your test report actually means.
Making the most of the time before your test
Booking your MOT with a couple of weeks of runway, rather than on the very last available day, gives you room to act on whatever these checks turn up. If everything looks fine, you’ve lost nothing but twenty minutes. If something needs fixing, you’ve got time to sort it properly rather than under pressure. Either way, walking into the test centre having already checked the basics yourself puts the odds firmly in your favour rather than leaving it to chance.
What to do with what you find
Once you’ve been through the checklist, sort what you’ve found into three rough categories. Anything you can safely and confidently fix yourself, like a bulb, a wiper blade, or topping up screen wash, just do straight away rather than putting it off. Anything you’re not sure about, like a tyre that might be borderline on tread depth or a light that seems dim rather than fully working, is worth a quick second opinion from a mechanic rather than guessing. And anything that clearly needs proper tools or expertise, such as a fluid leak, a noise, or anything underneath the car, should go straight onto the list for a pre-MOT check or a booked repair rather than being left until test day forces the issue.
Keeping a simple note on your phone of what you checked and when is a small habit that pays off, particularly if you’re managing more than one car in the household. It turns a vague sense of “I think I checked that recently” into an actual record you can refer back to, which is especially useful if a problem you noticed months ago has quietly gotten worse without you clocking it day to day.
Don’t forget mirrors and the number plate
Both wing mirrors and the interior mirror need to be present, securely fitted and undamaged, since a cracked or missing mirror affects how well you can see following traffic before changing lane or stopping. It’s a quick check but an easy one to overlook because a slightly cracked mirror still technically works well enough for daily driving, even though it’s a fail point on the test. While you’re doing your walkaround, check the number plate too, front and back, making sure it’s legible, correctly spaced according to the standard font, securely fixed, and not obscured by dirt, a cracked cover or a loose bracket.
Bringing it all together
None of these checks require any mechanical skill, just a bit of time and a willingness to actually get out of the car and look properly rather than assuming everything’s fine. Combined with a proper pre-MOT check from a mechanic covering the parts you can’t assess yourself, this two-layer approach catches the overwhelming majority of what would otherwise show up as a fail on test day, and it puts you back in control of the process rather than leaving it entirely down to chance on the day itself.
Source: gov.uk's guide to MOT checks
Frequently asked questions
How long do DIY pre-MOT checks take?
A thorough walkaround covering lights, tyres, screen wash, wipers and an underneath glance takes about fifteen to twenty minutes for most people, even without any mechanical experience.
Do I need any tools to do these checks myself?
No, a 20p coin for tread depth and a torch for looking underneath the car in poor light are the only things most owners need. Nothing else requires specialist equipment.
Can DIY checks replace a professional pre-MOT inspection?
No, DIY checks catch the obvious, visible items, but things like suspension play, brake imbalance and hidden corrosion genuinely need a ramp and trained eyes to assess properly.
What is the single most valuable check to do myself?
Checking every light works is consistently worth the most, since lighting faults are the single biggest cause of MOT failure nationally and are the easiest to fix once spotted.
Should I do these checks the same day as the test?
It is better to do them a week or two before, so there is time to fix anything found, rather than discovering a problem the morning of the test with no time to act.