

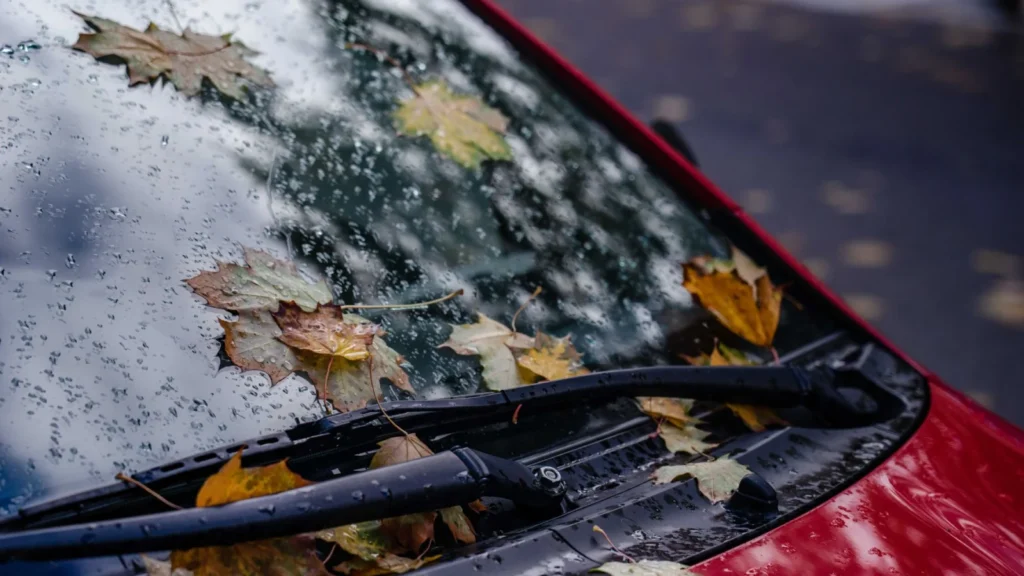
Why worn wipers are more than just annoying
A wiper blade that smears, skips or leaves streaks across the windscreen isn’t just irritating, it’s a genuine visibility problem, and visibility is one of the more overlooked aspects of driving safety. In heavy rain, low winter sun, or driving into spray from other traffic on a motorway, a good clear wipe of the windscreen can be the difference between seeing a hazard in time and not seeing it at all.
The good news is that wiper blades are one of the cheapest, quickest and safest DIY jobs on any car. There’s no risk to any mechanical or electrical system, the tools needed are minimal or none at all, and a mistake is immediately obvious rather than hidden until it matters.
This guide covers how to check whether your wipers actually need replacing, how to fit new ones correctly across the common attachment types, and a few things worth knowing that most people never think about until their wipers let them down on a wet motorway.
Signs your wiper blades need replacing
Streaking, where the blade leaves a thin film of water or smearing across parts of the glass rather than clearing it cleanly, is the most common early sign of a worn blade. Skipping, where the blade catches and jumps rather than moving smoothly across the glass, usually points to a rubber edge that’s hardened or distorted with age. Squeaking or juddering noises during operation are also common as the rubber degrades and no longer sits flush against the glass.
Visually, check the rubber edge of the blade for cracking, splitting or a slightly ragged appearance, all signs the rubber has hardened past the point of clearing water effectively, regardless of how the blade sounds or feels in use. UK weather, plenty of rain alongside strong summer sun and winter cold, is genuinely hard on wiper rubber, and most blades need replacing every six to twelve months even with only moderate use.
If you’re not sure whether your blades need replacing, a simple test is to spray the windscreen with washer fluid and run the wipers once. A blade in good condition clears the glass in a single smooth pass, while a worn one leaves streaks or missed patches immediately, giving you a clear answer without needing to inspect the rubber closely.
Choosing the right replacement blades
Wiper blades aren’t universal, they come in specific lengths for the driver and passenger side, which are often different sizes on the same car, plus a separate size for a rear wiper if your car has one. Check your car’s handbook or search using your registration and the specific side (driver or passenger) to get the correct sizes, since fitting the wrong length can affect coverage and, in some cases, cause the blade to catch on trim or the edge of the windscreen.
Beyond length, there are a few common attachment types, hook, pin, and side-lock fittings among others, and it’s worth confirming which type your car uses before buying, since a blade with the wrong attachment simply won’t fit securely even if the length is correct. Many replacement blade packs come with multiple adapter options to cover several attachment types, which removes some of the guesswork.
It’s also worth considering blade quality rather than automatically choosing the cheapest option, since a better quality blade tends to last longer and clear more effectively, particularly in UK conditions where wipers see genuinely heavy use across a typical year of rain, frost and bright low sun.
Removing the old blade
Start by lifting the wiper arm away from the windscreen into its raised service position, most cars allow this, and it gives you room to work without scratching the glass. Locate the small tab or release clip where the blade attaches to the arm, this varies by attachment type but is usually a small lever or button you press while sliding the blade away from the arm.
Take care when the arm is raised and the blade removed, since a wiper arm without a blade attached, if released accidentally, can spring back against the windscreen with enough force to crack the glass. Keep a firm, controlled grip on the arm throughout, and consider placing a cloth or towel over the windscreen as extra protection while you work, particularly if you’re doing this for the first time.
Once the old blade is off, take a moment to check the wiper arm itself isn’t bent or damaged, and clean any built-up grime from the arm and the area where the new blade will attach, since a clean connection point helps the new blade sit and function properly.
Fitting the new blade correctly
Line up the new blade’s attachment mechanism with the wiper arm, following the reverse of however the old blade came off, and push or slide it into place until you hear or feel it click securely. Give it a gentle tug to confirm it’s properly locked in place rather than just resting loosely, since a blade that isn’t fully secured can detach while driving, which is both dangerous and startling at speed.
Once fitted, gently lower the wiper arm back down onto the windscreen, again keeping control of the arm rather than letting it snap back on its own. Test the wipers with some washer fluid on the glass to confirm the new blade clears properly across its full range of movement, checking for any streaking, skipping or areas the blade doesn’t quite reach.
If a section of glass isn’t being cleared properly even with a new blade, check the arm’s spring tension and alignment, since a blade in good condition still won’t clear properly if the arm itself isn’t pressing it evenly against the glass across its full sweep.
Rear wipers and heated wiper parks
If your car has a rear wiper, don’t overlook it in the same way front wipers are often prioritised, rear visibility matters particularly when reversing in rain or when following spray from vehicles ahead on a wet road. Rear wiper replacement follows broadly the same process as the front, though access and attachment types can differ, so check specifically for your car’s rear wiper size and fitting rather than assuming it matches the front blades.
Some newer cars feature a heated wiper park area at the base of the windscreen, designed to stop wipers freezing to the glass in winter. If your car has this feature, check it’s still functioning as part of your wiper maintenance, since a frozen wiper forced into motion by an impatient driver can damage both the blade and the wiper motor.
Never operate wipers when frozen to the windscreen. Clear the glass properly first with a scraper and de-icer, since forcing frozen wipers can strain the wiper motor and potentially cause more expensive damage than the cost of a new blade.
Washer fluid and jets: the other half of visibility
New wiper blades won’t help much if your washer fluid reservoir is empty or the jets aren’t spraying properly, so it’s worth checking both while you’re replacing blades. Top up washer fluid with a properly diluted mix, or a stronger concentration in winter for freeze protection, and check the jets are actually reaching the windscreen rather than spraying wide or not at all.
A blocked jet can often be cleared with a fine pin gently inserted into the nozzle opening, though be careful not to damage the small opening by using something too thick or forceful. If jets remain blocked after a gentle clean, or if fluid isn’t reaching them at all despite a full reservoir, there may be a pump or hose issue worth having checked properly.
Good visibility depends on the combination of clean glass, working washer jets, and blades in good condition, all three together, rather than any one element alone, so it’s worth checking all three at the same time rather than fixating on just the blades.
Seasonal timing for wiper replacement
Many drivers find it useful to replace wiper blades on a seasonal schedule, once heading into autumn ahead of the wetter months, and again in spring if the winter has been particularly harsh on the rubber. This proactive approach means you’re less likely to be caught out with worn blades right as heavy autumn rain or winter conditions actually arrive, when good visibility matters most.
UV exposure through summer also degrades wiper rubber even without heavy use, so a blade that’s been fine through a dry summer can still need replacing come autumn simply from sun exposure over several months. This is worth remembering if your wipers have seen relatively little actual use but are still due a check based on age alone.
Keeping a spare set of the correct blades in the boot or garage means you’re never caught without a quick fix if a blade fails unexpectedly, rather than driving with reduced visibility until you can get to a shop for a replacement.
When wiper problems point to something bigger
If you’ve fitted new blades and are still experiencing poor wiping performance, streaking, skipping, or areas the wiper doesn’t reach properly, the issue may not be the blades at all. A bent wiper arm, worn linkage in the wiper mechanism, or a failing wiper motor can all cause similar symptoms to worn blades, and no amount of blade replacement will fix an underlying mechanical issue.
Similarly, if wipers operate at the wrong speed, don’t park correctly when switched off, or make unusual noises beyond what a simple blade replacement would explain, it’s worth having the wiper mechanism itself checked rather than continuing to replace blades and hoping for a different outcome each time.
If you’d like your whole car given a once-over rather than just sorting the wipers, SSK Mechanics offers an MOT Pre-Inspection across West Yorkshire and Bradford that checks wiper function, blade condition and washer operation alongside everything else that could affect your MOT result. Book an MOT Pre-Inspection today and we’ll make sure visibility, and everything else, is properly sorted well ahead of test day.
Common mistakes when fitting wiper blades yourself
The most common mistake is buying the wrong size or attachment type and discovering it doesn’t fit properly once you’re already halfway through the job. Double checking the exact size and fitting type for both driver and passenger sides before you buy saves a wasted trip back to the shop. Another common error is forcing a blade onto an attachment it isn’t designed for, which can damage the arm or leave the blade insecure even though it initially seems to click into place.
Letting the wiper arm snap back against the windscreen without the blade attached is a mistake worth specifically avoiding, since the bare metal arm striking unprotected glass can cause a chip or crack that’s far more expensive to fix than the blade replacement itself. Keeping a firm, controlled grip on the arm throughout the whole process avoids this entirely.
Finally, some drivers skip testing the new blade properly before driving off, only discovering a fitting issue in heavy rain later. A quick test with washer fluid immediately after fitting catches any problems while you’re still parked and able to fix them straight away.
Cost comparison: DIY versus a garage visit
Wiper blades themselves are inexpensive, and fitting them yourself typically costs only the price of the blades, since no tools or special skills are needed beyond a few minutes of careful attention. Having a garage fit them adds a labour charge on top of the blade cost, which for a job this straightforward often isn’t worthwhile if you’re comfortable doing it yourself.
That said, if you’re already booking a car in for other work, having wipers checked and replaced as part of the same visit is convenient and saves you the separate task, so it’s worth mentioning to your mechanic if you’d rather have it included than deal with it separately at home.
Either way, this is a job that never needs to be put off for long, given how cheap and quick it is compared with the visibility it restores.